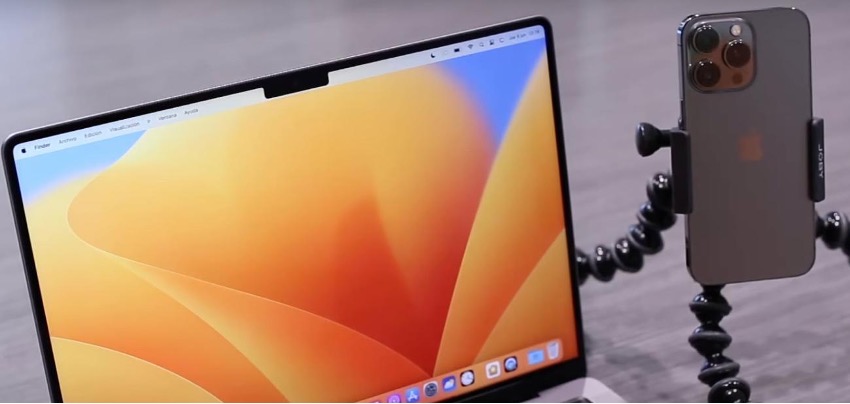
Using your iPhone as a MacBook webcam
Using your iPhone as a Mac webcam has many advantages. Whether you're a streamer and want to broadcast your Twitch live stream from another angle, or you're in a business meeting and working with an external screen. You don't need wires, and you don't have to download any Apps. All you need is your iPhone and Mac.
What do I need to do to use my iPhone as a Mac webcam?
It would be best to have an iPhone plus a Mac with the latest operating system version. So you'll need both iOS 16, and macOS Ventura installed. Once you've updated your Mac and iPhone.
Also check out everything you need to know about iOS16, here.
we'll show you how to use your iPhone as a Mac webcam.
Step 1 - Your iPhone and Mac must be on the same Wi-Fi network and have the same Apple ID.
Step 2 - Open the App you will make the video call with, e.g., FaceTime.
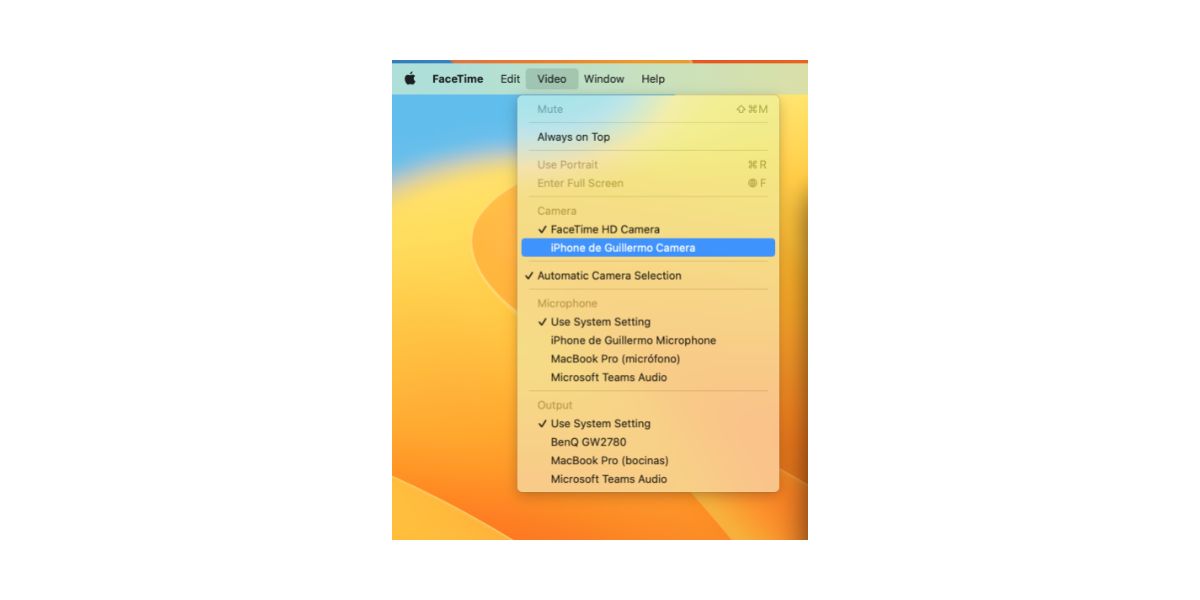
Step 3 - Click on Video and select your iPhone as the camera.
Step 4 - You're ready to go! Your iPhone will automatically become your Mac's webcam.
Step 3 may change depending on the App. For example, within Teams and Zoom, it will be under Settings. The iPhone is detected by the Mac as just another webcam.
What features can you use while using the iPhone as a Mac Webcam
Using your iPhone as a webcam on your Mac is already a 360° change. But there's even more! You can apply diffearent image effects or even use the iPhone's microphones. In the control center and camera section, you will find the following:
- Portrait mode blurs the background and keeps you in the foreground.
- Focused framing, which uses the iPhone's ultra-wide-angle camera. The iPhone allows you to move around the room and remain in the centre of the image.
- Lighting effects: Your face will light up while the background darkens slightly; it's like having an LED ring in front of you.
We also recommend checking out the Bright Friday 2022, in which you can get up to 2000 AED off on MacBook and other Apple Products.

 United Arab Emirates
 Oman
Oman Lebanon
 Morocco
 Iraq
Iraq Hungary
 Romania
 Czech Republic
 Serbia
 Croatia
 Slovakia
 Bulgaria
 Slovenia
 Macedonia
 Spain (K-Tuin)


