If you didn't know how to schedule an email on your iPhone, iOS 16 allows you to schedule an email to be sent from the Mail app on your iPhone or iPad.
Scheduling the sending of an email is commonplace on a Mac, but doing it quickly on your iPhone is different.
We will show you how you can schedule an email to be sent with your iPhone because, with iOS 16, it is straightforward.
This function allows you to prepare an email and schedule it to be sent at a specific time. This may be a good option if you use email as a common work tool.
Steps to Schedule an Email using iPhone:
Step 1 - Open the Mail app on your iPhone with iOS 16.
Step 2 - Write the email you want to send.
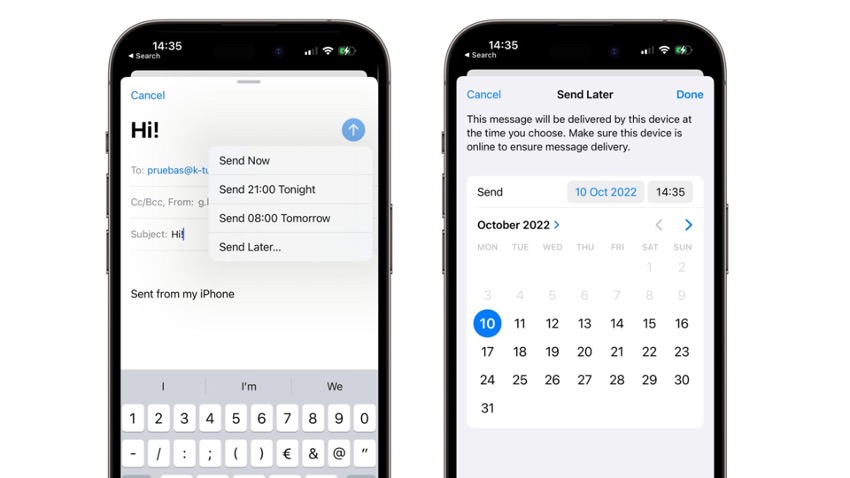
Step 3 - Press and hold the send button.
Step 4 - Choose from the different options and select "Send later" to select a date and time.
Step 5 - Finally, with the sending date and time selected, click OK, and you are ready to go.
You should know that messages are scheduled to be sent in the "Send later" mailbox in the list of mailboxes. In that mailbox, you will be able to see all scheduled messages. If you want to modify the message or the scheduled time, click on the "Edit" option. This way, you can easily change or delete those messages.
Please note that if your device does not have a network or WiFi connection at the time of sending, it may not be possible to deliver the email, but once you regain connection, the email will be sent at that precise moment.
Can you schedule an email to be sent from your iPad?
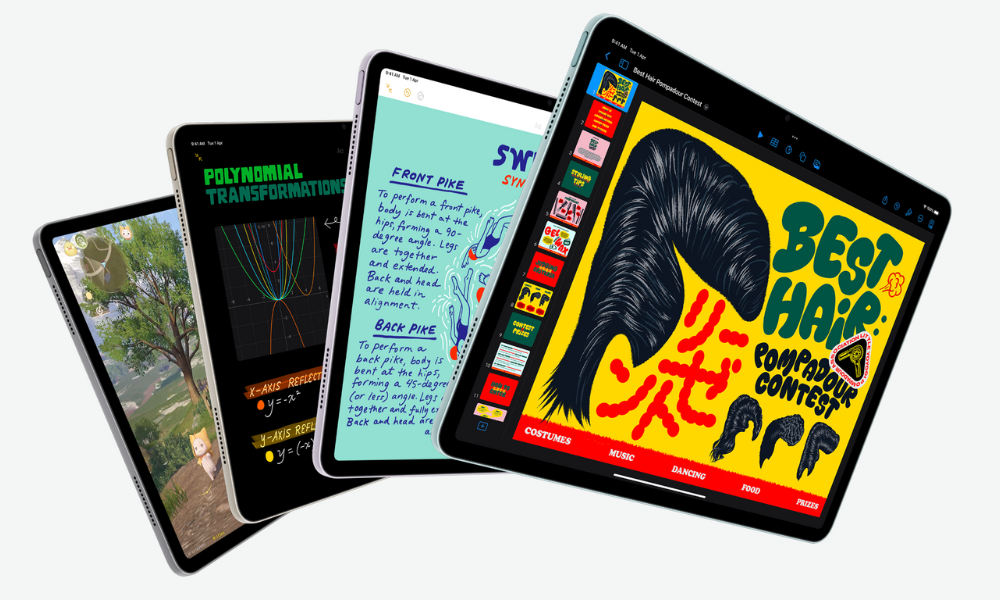
As with your iPhone, remember that you can schedule an email to be sent from your iPad, and you will need to have the latest version of iPadOS 16, which will be available in October.
Also we recommend checking out some of the best tricks and tips related to the world of Apple Products in our iSTYLE Blogs or just visit your nearest iSTYLE Apple Stores and our experts will be happy to help you. We can’t wait to see you!

 United Arab Emirates
 Oman
Oman Lebanon
 Morocco
 Iraq
Iraq Hungary
 Romania
 Czech Republic
 Serbia
 Croatia
 Slovakia
 Bulgaria
 Slovenia
 Macedonia
 Spain (K-Tuin)


