 United Arab Emirates
 Oman
Oman Lebanon
 Morocco
 Iraq
Iraq Hungary
 Romania
 Czech Republic
 Serbia
 Croatia
 Slovakia
 Bulgaria
 Slovenia
 Macedonia
 Spain (K-Tuin)
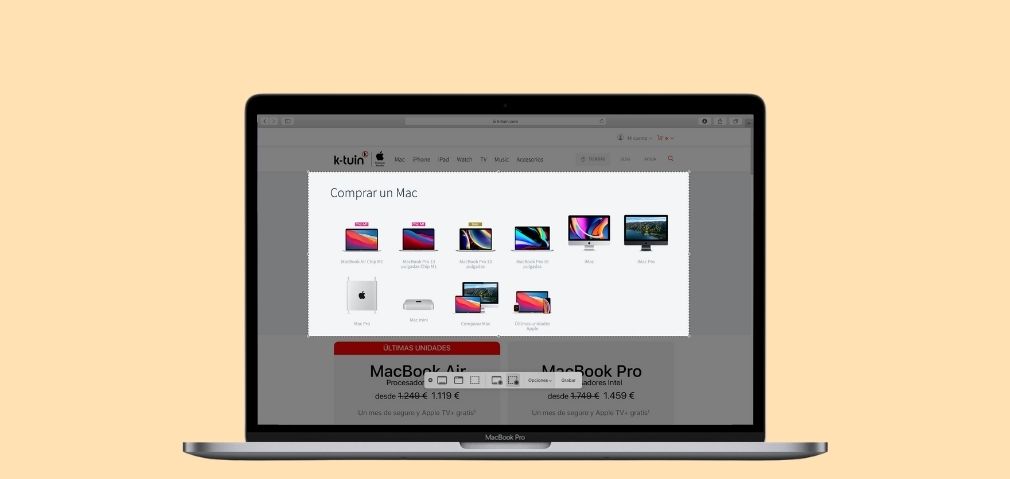
Full screen capture on a Mac
To take a screenshot of your entire Mac screen or the entire desktop, simply press and hold the following three keys at the same time: Shift + Command + 3. Easy, right?
Also, if you have a monitor connected to your MacBook, this method will automatically take a simultaneous screenshot of both screens. Holding down these three keys will save two screenshots on your desktop, one for each screen.

Capturing part of your screen on a Mac
If you want to take a screenshot on a Mac of a specific area, which is perfect for pasting into documents and making your own notes, follow these simple steps:
- Press and hold down the following three keys at the same time: Shift + Command + 4. When you press these keys, a cross will appear on your Mac screen to allow you to select a part of the screen.
- Drag this cross to select the area of the screen you want to capture.
- To take a screenshot on a Mac, just release the mouse or trackpad button, and you’re done! Screenshot taken!
What if you have selected the wrong area? Don’t worry! You can easily cancel the screenshot on a Mac by pressing the Esc key (Escape).
If you take a lot of screenshots, either to add comments to your notes or send them to friends, you might have a desktop full of screenshots on Mac. Here’s one way you can keep your desktop from getting cluttered!
If you press Shift + Control + Command + 4 at the same time, you will take the screenshot on your Mac and you can send it or add it to a document by simply pasting it. It is as intuitive as using the copy and paste functions in a document.

How do you record your screen on Mac?
If you are looking for how to record the screen on Mac, all you have to do to record a video of your Mac screen is press Shift + Command + 5. Remember to press all three keys at the same time!

This Mac screen recording is very useful if you want to record part of a YouTube video to save it on your Mac or if you want to explain to someone the steps or tricks they can use on their Mac to do a particular thing.
By pressing these three keys, a menu bar will appear where you can choose whether to record the whole screen or just a part of it.
Other options on how to record the screen on your Mac, that will appear in this bar, are the options to activate the timer, perfect for when you want to capture something in detail without having to edit the video later; or the option to choose where to save that screen recording on your Mac, so you will always know where you saved it!

And to stop recording? Simply click on the stop button in the menu bar.
Where does this screen recording save on a Mac?
Now that you know how to screen record on your Mac, you may be wondering where to save this file on a Mac. By default, it saves on your desktop.
What if I want to save your screenshot somewhere else? When you take a screenshot on a Mac, the screenshot will appear as a thumbnail at the bottom of the screen. You can drag this thumbnail into a folder to save it, or even drag it into a conversation to share it quickly. Just like you can drag any file to tidy up your desktop or add it to an email.
As you can see, taking a screenshot on a Mac of both images and videos is very simple. Save everything you need in an easy and straightforward way, highlight the areas you want on your screen and share those screenshots as if they were just another image or video. Easy, isn’t it?